
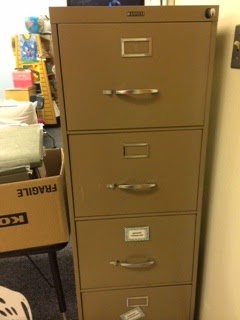
Once I got into it, I couldn't believe how easy it was! The entire process of transforming two UGLY metal file cabinets took about 6 hours. I love the way they look now! As a bonus, I organized my files as I was putting them back in, and got rid of 2 whole drawers worth of outdated resources.
The tools I used:
drop cloths
spray paint (paint and primer for metal, wood or plastic)
screw driver (to remove the handles
mask
Step 1: Empty and remove the drawers.

Optional: Remove the hardware. I removed the handles from one set of drawers, but not the other.

Step 2: Sand and clean the drawers. I used fine grit and lightly sanded the surface. After sanding, I sprayed the drawers with a household cleaner and wiped them down with a paper towel.

Step 3: Spray paint. I selected the colors I use in my my classroom: blue, green, and yellow. I used paint and primer spray paint for wood, metal or plastic. The drawers only needed about two coats each, but the cabinets took 3-4 coats. I ended up using about 8 cans of paint for the 2 cabinets. I sprayed the drawers in my classroom. The cabinets were big, so I moved them outside. I used a mask, as recommended when working with spray paint.

And voila! The finished cabinets look great!!


What a great idea. Looks so beautiful!
ReplyDeleteThank you! I am so delighted with the result. They brighten up the whole room!
DeleteThey're adorable!
ReplyDeleteThanks, Natalie! I love the way they look!
Delete